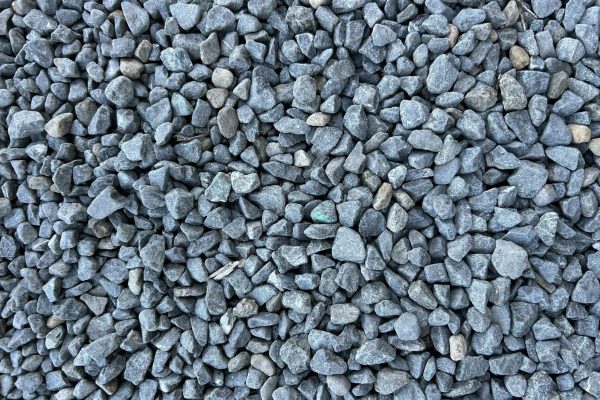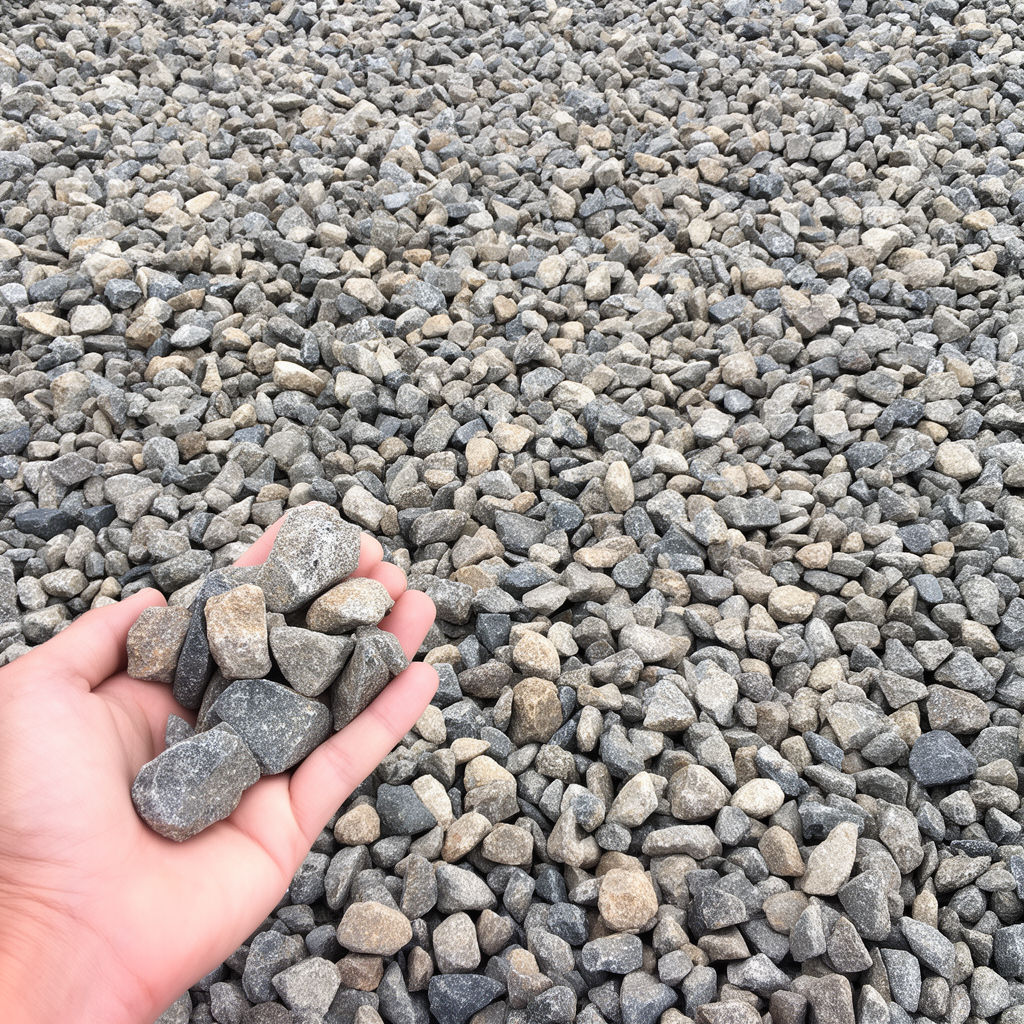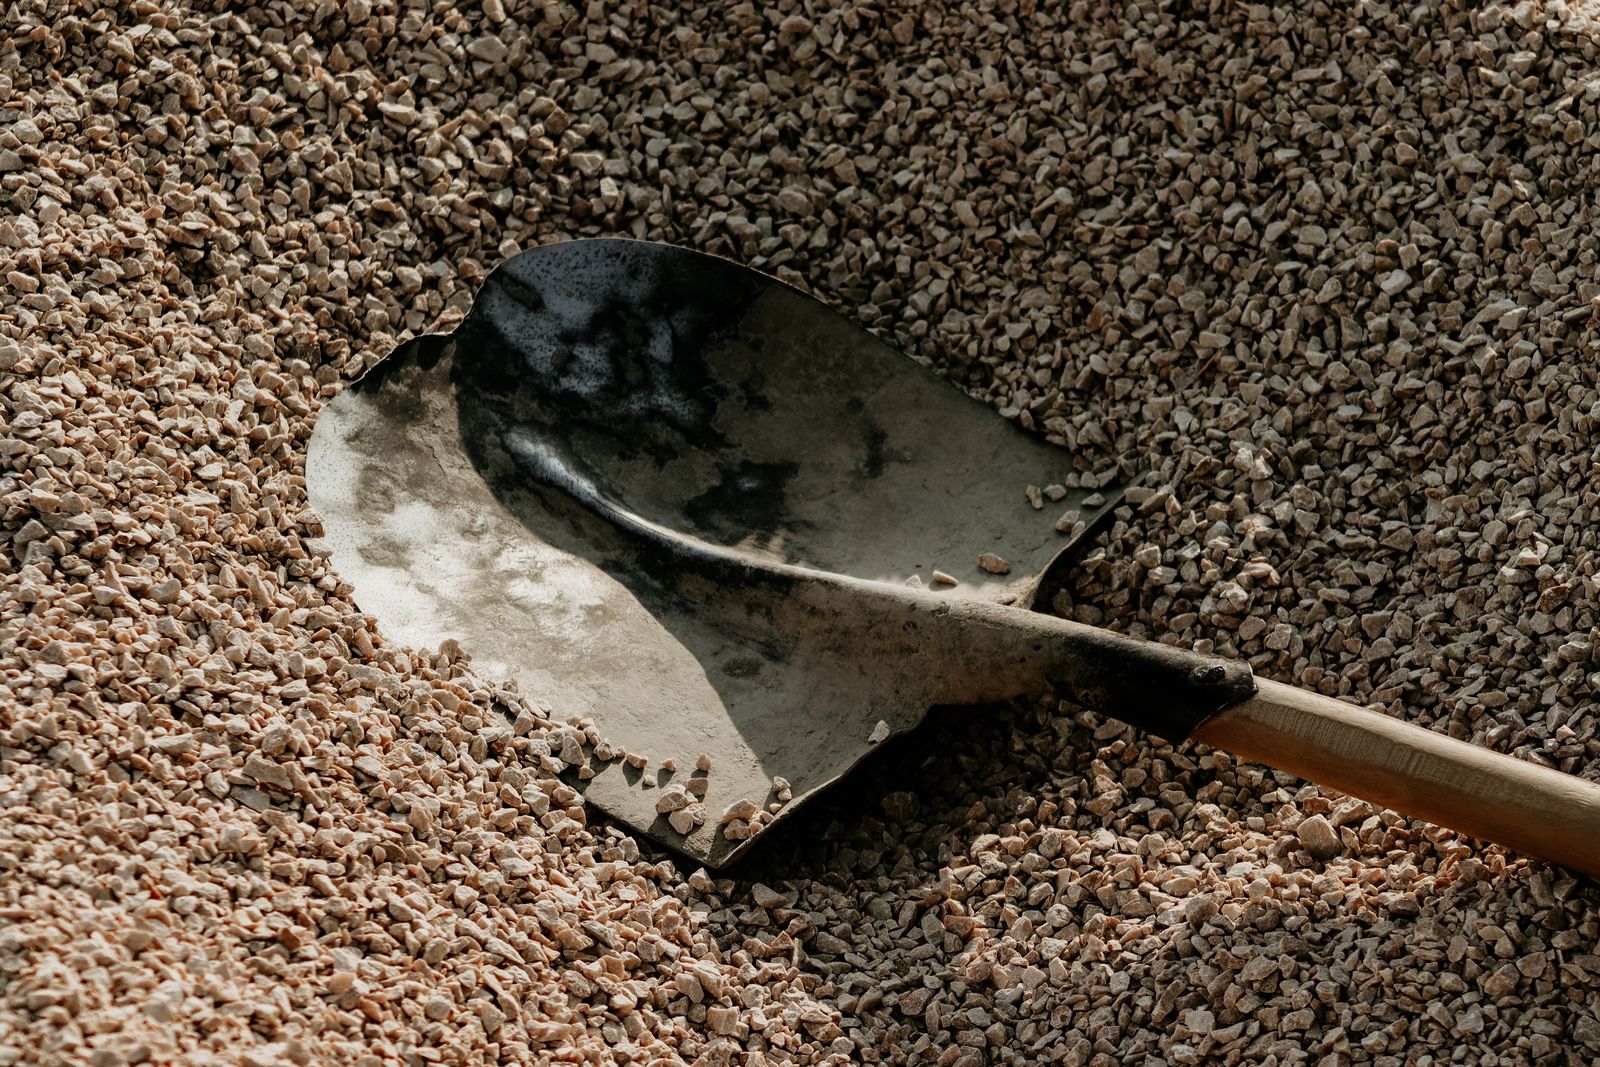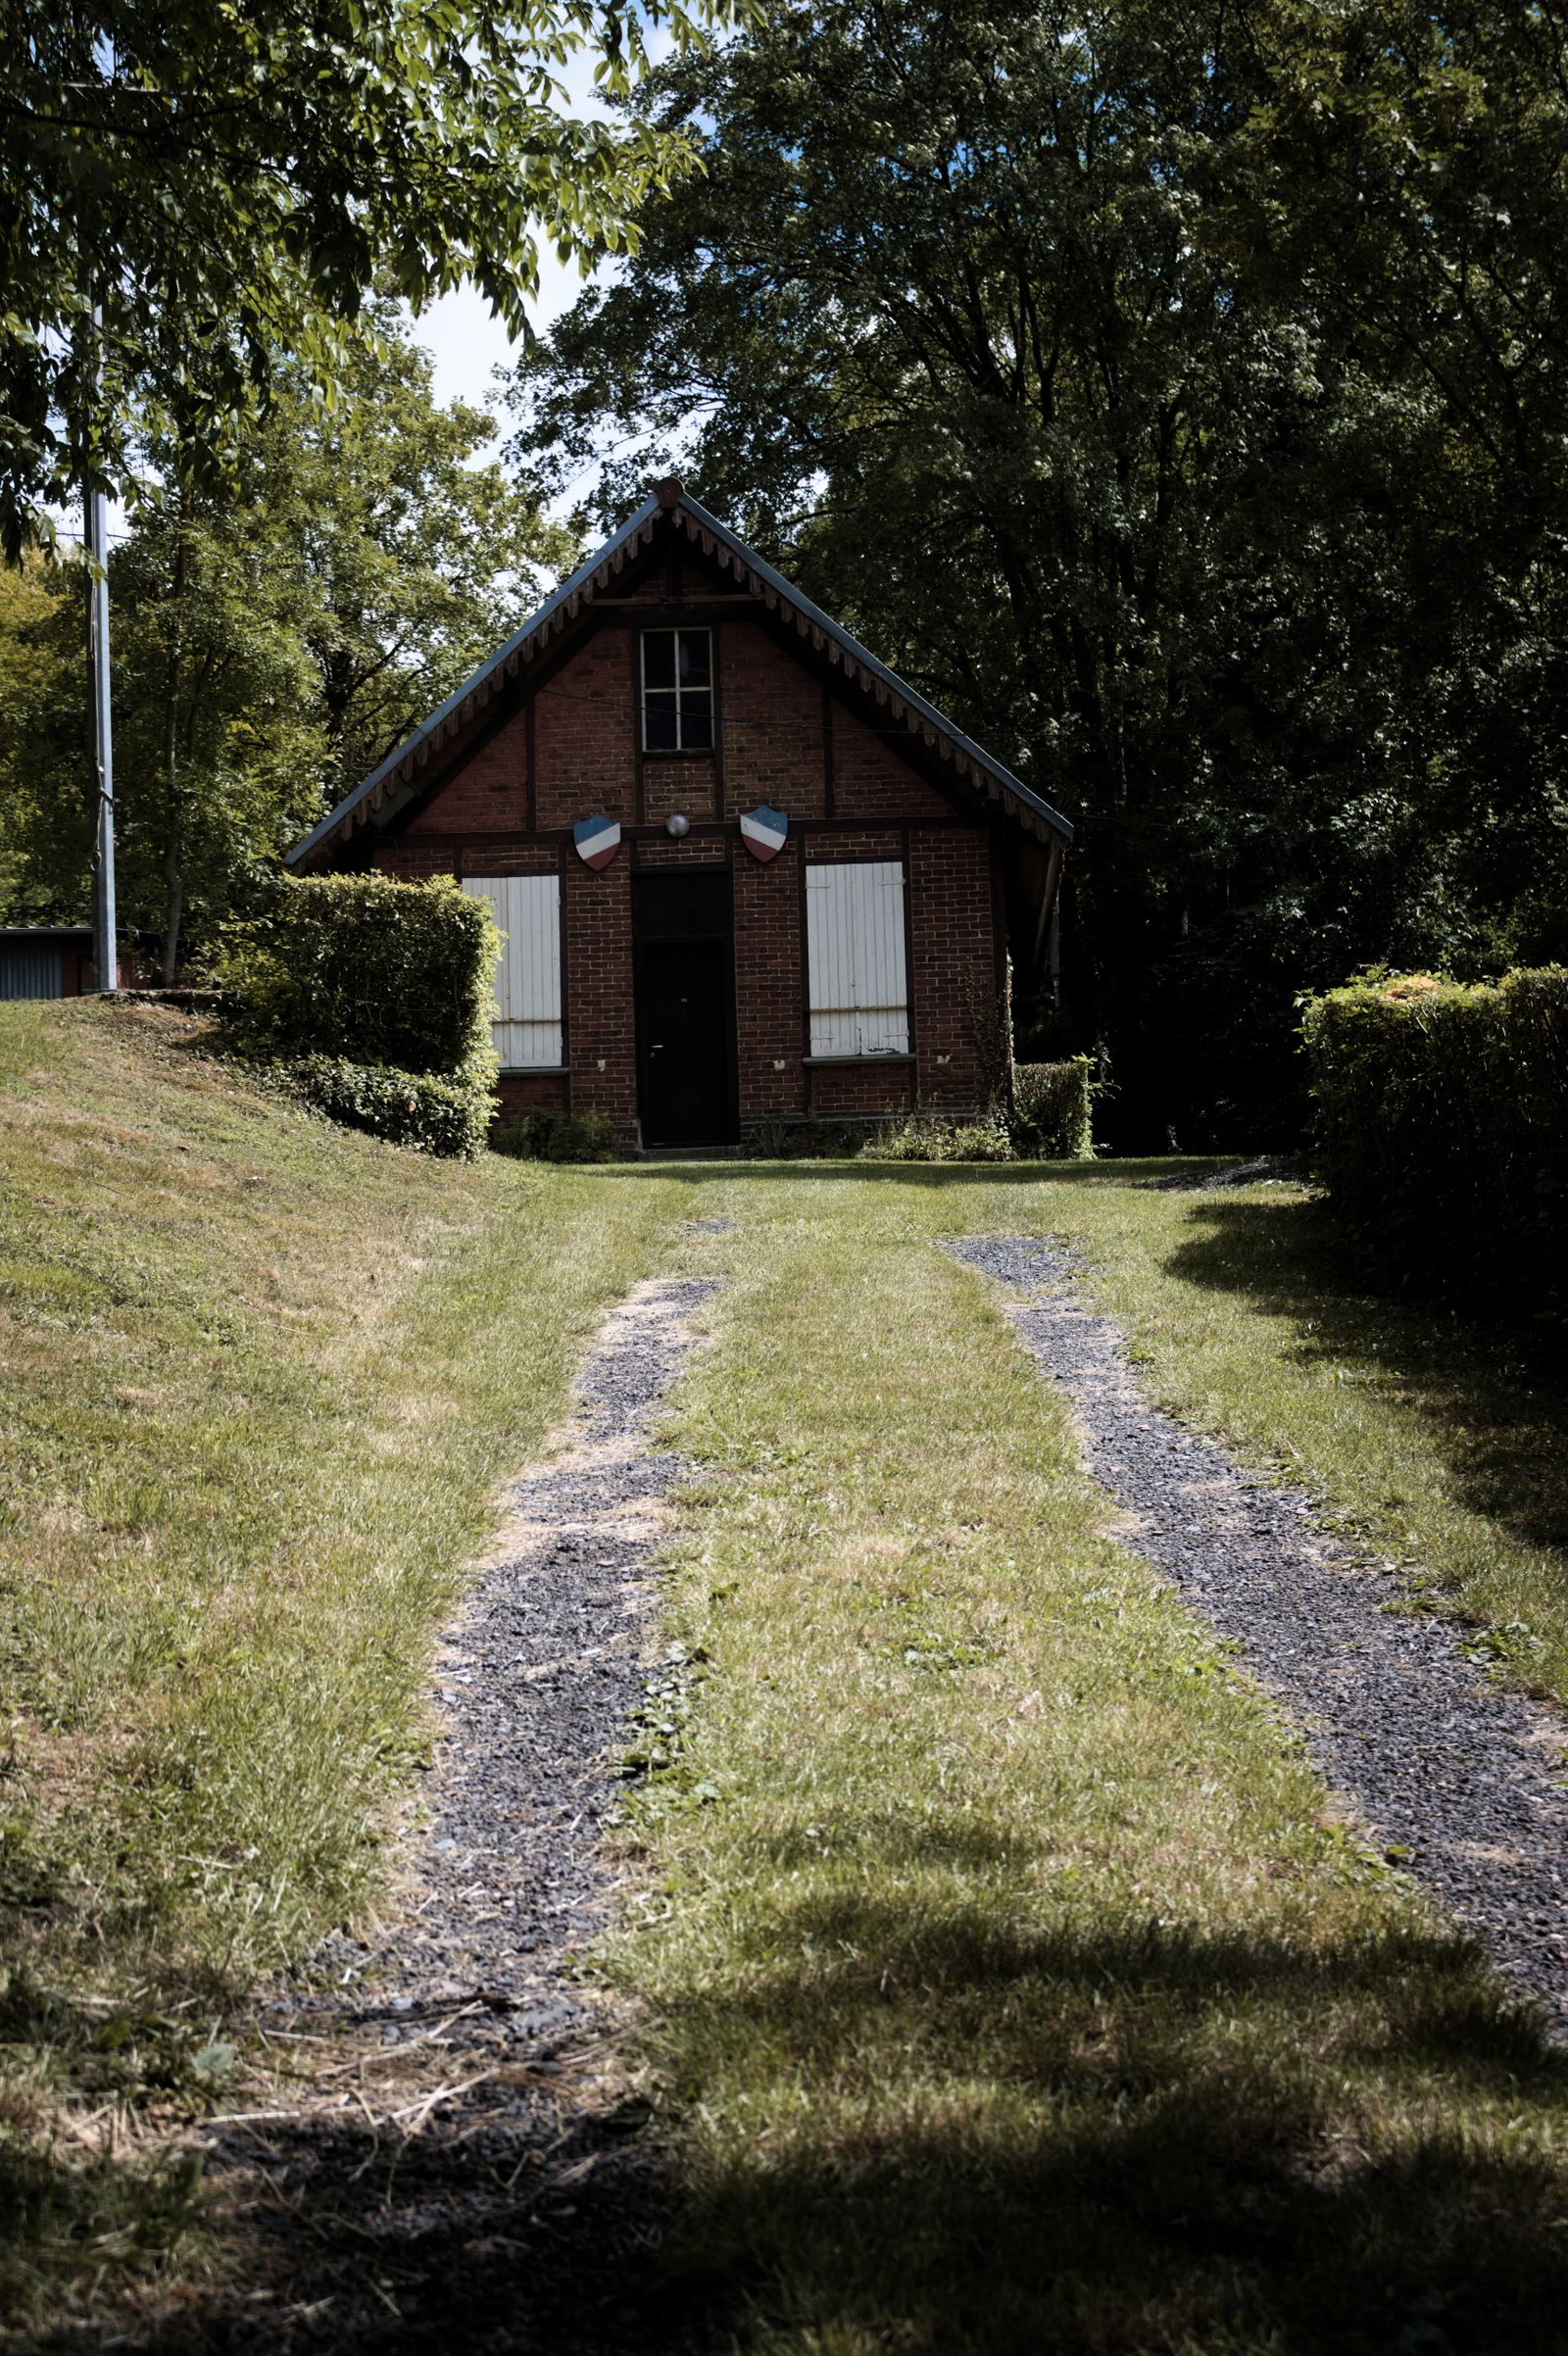



Backyard sheds, small workshops and carports are common across Haysville’s neighborhoods off Grand Avenue and the larger lots toward 71st Street South. Almost every one of them needs the same thing first: a flat, firm pad that will not sink, tilt or hold water. A shed pad of gravel in Haysville, KS is cheaper and faster to build than a concrete slab, and it drains far better. You can order every layer mentioned in this guide from our Haysville delivery page.
Below is a step-by-step approach that works for a garden shed or a larger prefab workshop.
For background on why compaction matters under any structure, see:
Soil compaction (Wikipedia)
Why a Gravel Pad Beats Blocks or Bare Ground
Many sheds end up sitting on a few concrete blocks or straight on the grass. Both approaches cause trouble. Blocks settle unevenly in soft ground, so doors start to stick within a year or two. Grass and soil under the floor hold moisture, which rots wood framing and invites pests. Haysville sits just south of Wichita in the Arkansas River valley, where some neighborhoods have a high water table and heavy spring storms can leave low yards wet for days. A raised, compacted gravel pad lifts the building above that moisture and lets water drain away underneath.
A good pad uses two or three layers, each doing a specific job:
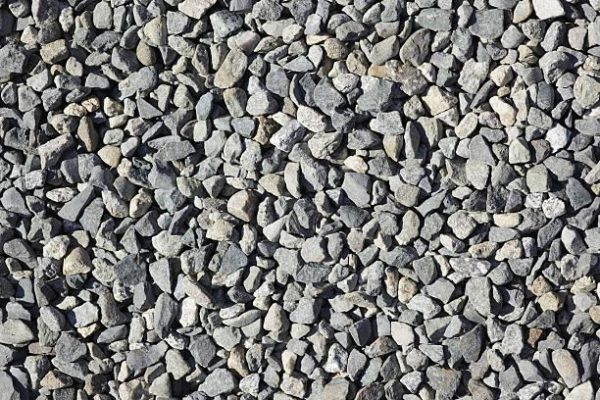
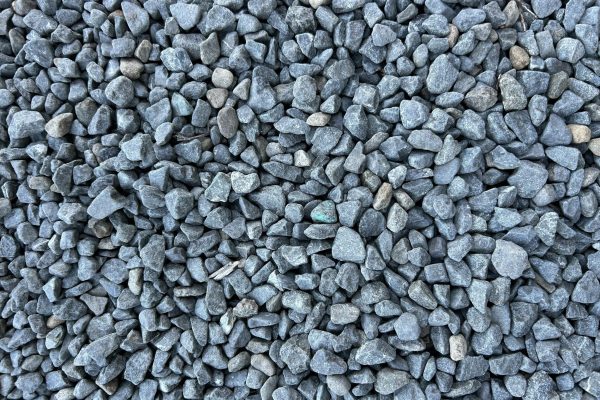
- Load-bearing base → crushed run
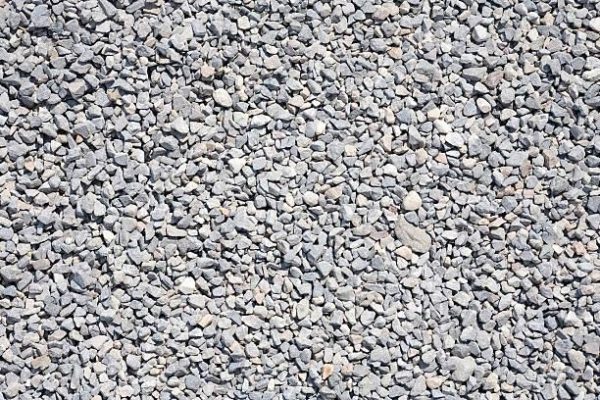
- Level, compacted top layer → 3/4″ minus base gravel
- Budget base for large pads → crushed concrete
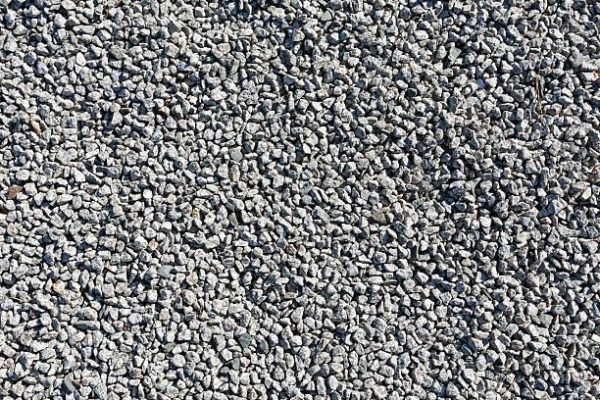
- Drip line around the edge → #57 stone
Browse pad materials available in Haysville
Choosing Materials for a Haysville Shed Pad
| Layer | Recommended material | Why it works |
|---|---|---|
| Bottom base | Crushed run | Large angular stone carries the building’s weight |
| Economical base option | Crushed concrete | Recycled, compacts well and costs less on big pads |
| Leveling top course | 3/4″ minus base gravel | Fines fill the voids so the surface screeds flat |
| Perimeter drip strip | #57 stone | Catches roof runoff and keeps it from washing out the pad |
Step 1: Size and Lay Out the Pad
Make the pad at least one foot wider than the building on every side. That extra margin keeps the walls on solid stone and gives roof water a place to land that is not soil. A 10-by-12 shed therefore needs a 12-by-14 pad. Mark the corners with stakes, check that the diagonals match so the pad is square, and confirm property line setbacks with the city before you dig.
Step 2: Excavate and Frame
Remove sod and topsoil down to firm subsoil, usually four to six inches. If the yard slopes, cut into the high side rather than building the low side up with loose soil. Frame the area with pressure-treated 4×4 or 6×6 timbers pinned with rebar. The frame holds the stone in place and gives you a straight edge to level against. Lay a woven geotextile on the soil inside the frame to keep base stone from pushing into the clay.
Step 3: Build and Compact the Layers
Spread three to four inches of crushed run or crushed concrete and compact it with a plate compactor, making several passes in different directions. Then add two inches of 3/4″ minus, mist it with water, and compact again. Drag a straight board across the top of the frame to screed it flat, fill any low spots, and compact one final time. A well-built pad should not show footprints when you walk on it. Our 3/4″ minus guide explains why this blend locks together so well.
Larger Workshops and Carports
For a prefab workshop or a carport where a pickup will park, increase the base to six inches and consider a thicker timber frame. Vehicle traffic concentrates weight in the wheel paths, so compaction matters even more. If you plan to pour a concrete floor later, the same compacted stone makes an excellent sub-base. Homeowners in nearby Derby and Clearwater often build the gravel pad first and add the slab a few years down the line.
Keeping Water Away From the Pad
Water is what ruins pads over time. Grade the surrounding soil so it slopes away from the frame. If the shed has gutters, send the downspout to a splash pad of clean stone a few feet from the edge. Without gutters, a six-inch strip of #57 stone along the drip line stops roof runoff from carving a trench beside the frame.
Benefits of Local Delivery for Haysville Pads
- Base and top course arrive together in one load
- Stone dropped close to the pad site to save wheelbarrow trips
- Bulk pricing for larger workshop pads
- Easy reorders if you extend the pad for a lean-to
How Much Stone Should You Order?
Pads are rectangles, so the math is short: length in feet times width in feet times total stone depth in inches, divided by 324, gives cubic yards. A 12-by-14 pad built six inches deep needs about 3.1 cubic yards. At roughly 1.4 tons per yard, that is around 4.4 tons. Add about ten percent to cover compaction.
FAQ
How thick should a gravel shed pad be?
Four to six inches of compacted stone is enough for most garden sheds. Use six inches or more for workshops, carports or anything heavy.
Do I need a permit for a shed pad in Haysville?
Size limits and setbacks vary, so check with the city before building, especially for larger structures.
Is crushed concrete as good as crushed run?
For pads and bases, yes. It compacts tightly and is usually more economical for large areas.
Can I put a shed directly on 3/4″ minus?
On firm ground with a small shed, a single compacted layer can work. A two-layer pad lasts longer and handles wet springs better.
Final Thoughts
A shed or shop is only as straight as the pad beneath it. Size the pad with a margin, frame it, compact the stone in layers and keep water moving away, and your Haysville building will stay square and dry for decades. Looking at a project elsewhere in the Wichita area? Find your Kansas city here.